
From Boring Sketches to Catchy Illustrations in Photoshop
Step 4: Adding Shrub
Drag drop image, Rasterize it and clean it as done in step 2. Erase(E) bottom of shrub if required. Resize and position. Now take Eraser(E), Spatter Brush or some brush with uneven edges.Start erasing to give uneven texture to shrub to give it wild look and it removes white patches too.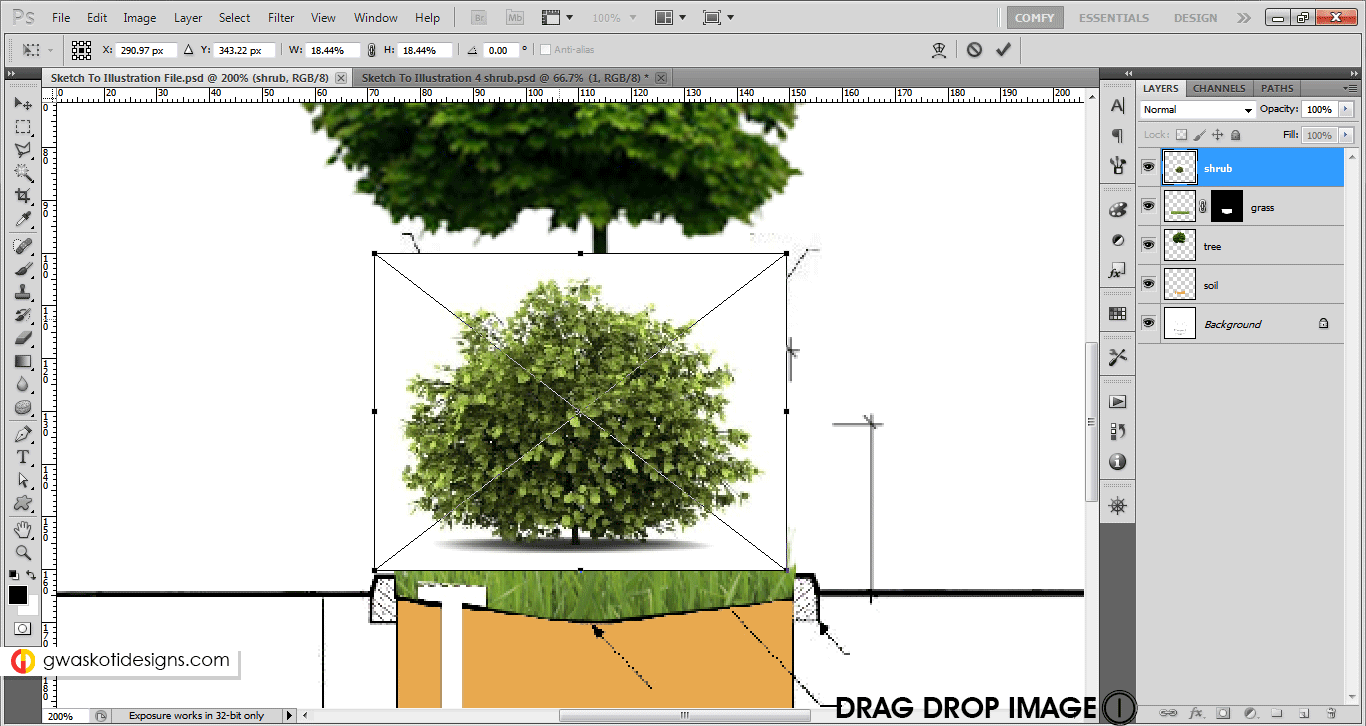
Step 5: Adding Car.
Drag drop image, Rasterize it and clean it as done in step 2. Resize and position.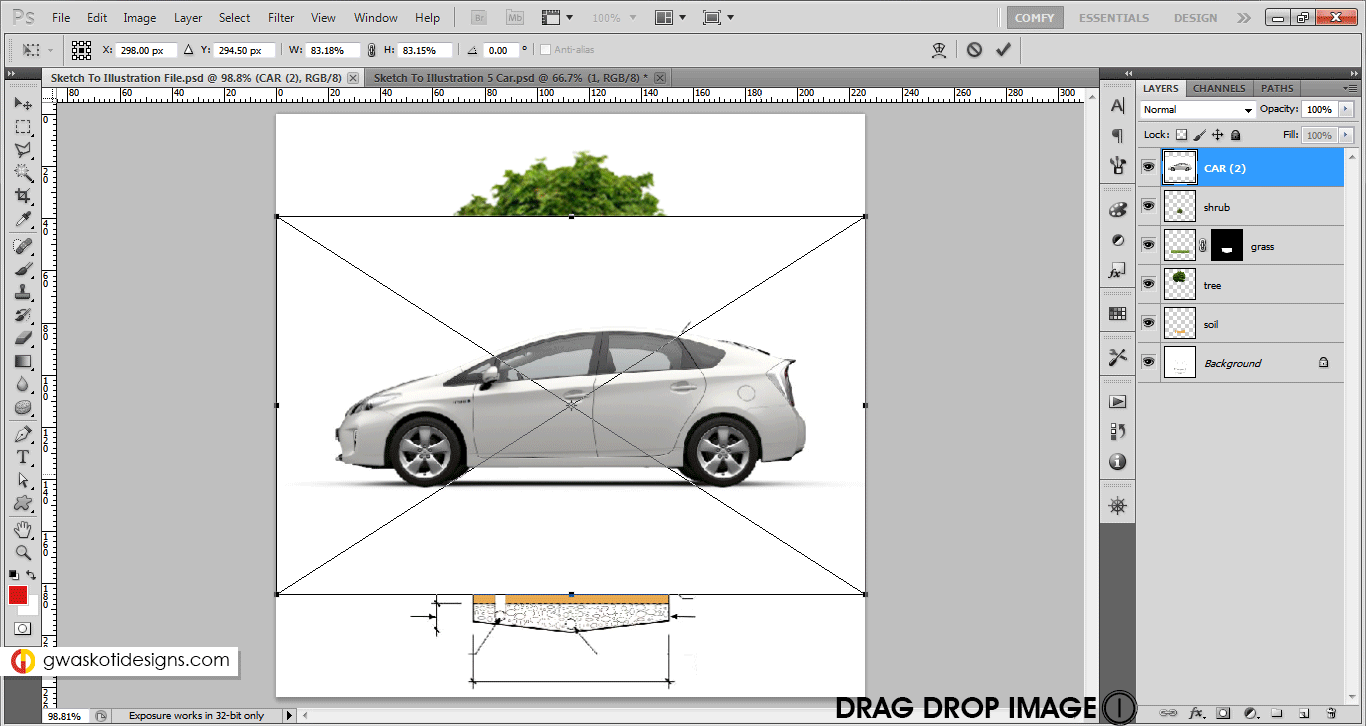
Step 6: Adding People.
My favourites are online shopping websites to download human cutouts. They give front pose, side pose & back pose too. In all colors, in all dresses :). Download images with white background (without shadows preferred). Again Drag drop image, Rasterize, Magic Wand selection, Delete & Deselect. Then resize to make it in scale with respect to other objects and move it to suitable position.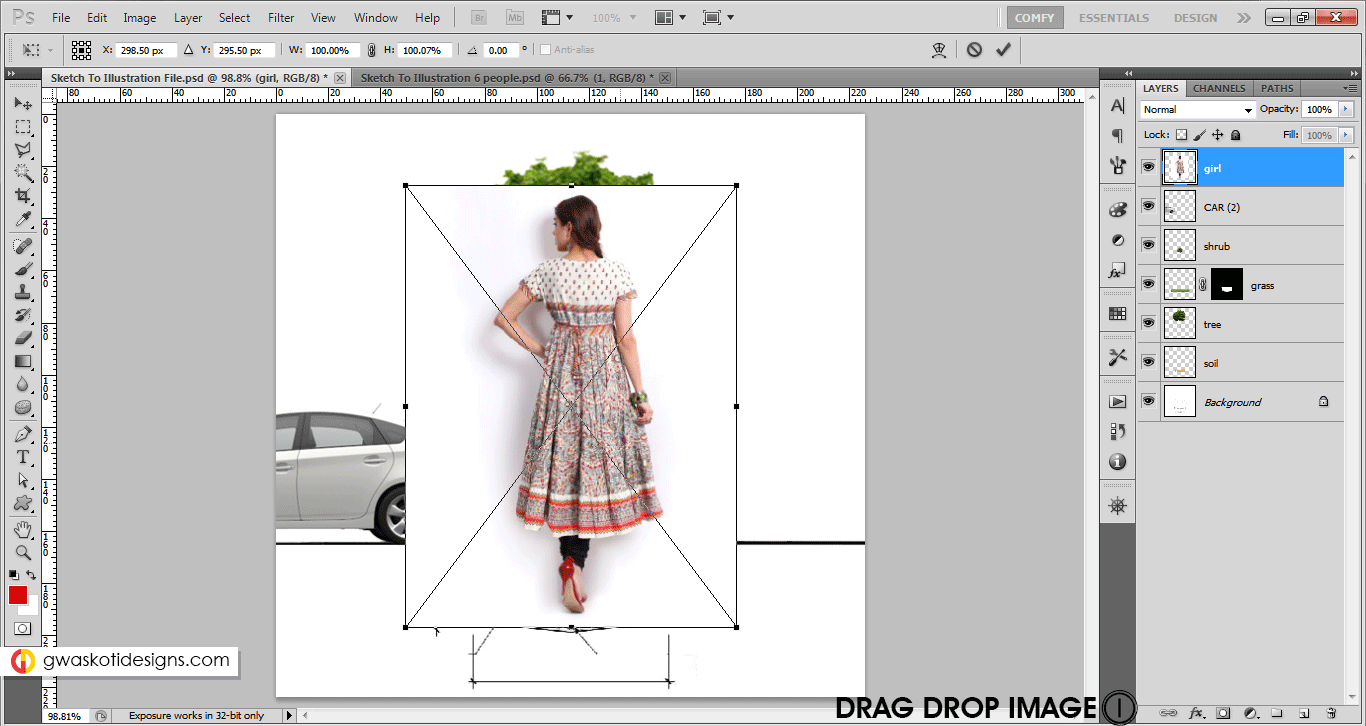
Step 7: Adding Sky.
Drag drop image, apply mask to it. Move this layer below Tree layer. Add a mask to layer. Select Gradient(G),check if foreground/background are black and white. Then apply the gradient,upwards. You may reduce the opacity of sky layer.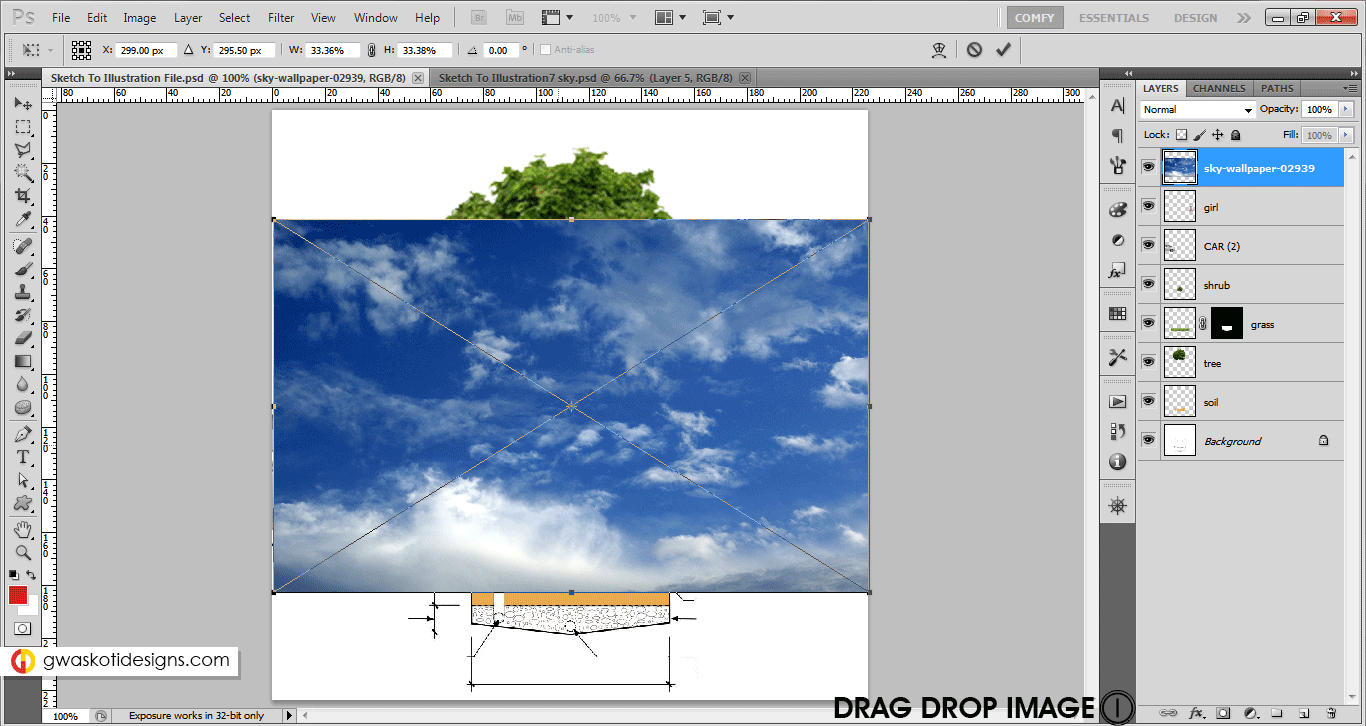
Step 8: Adding Shadow.
Make a new layer below Tree layer. Rename to Shadow. With Lasso Tool(L) make a angular selection. Fill (Shift+Backspace) with 50% grey color.Deselect(Ctrl+D)
Apply mask to it. Select Gradient(G),check if foreground/background are black and white. Then apply the gradient,tilted upwards. Reduce opacity of layer as per your choice. Save (Ctrl+S)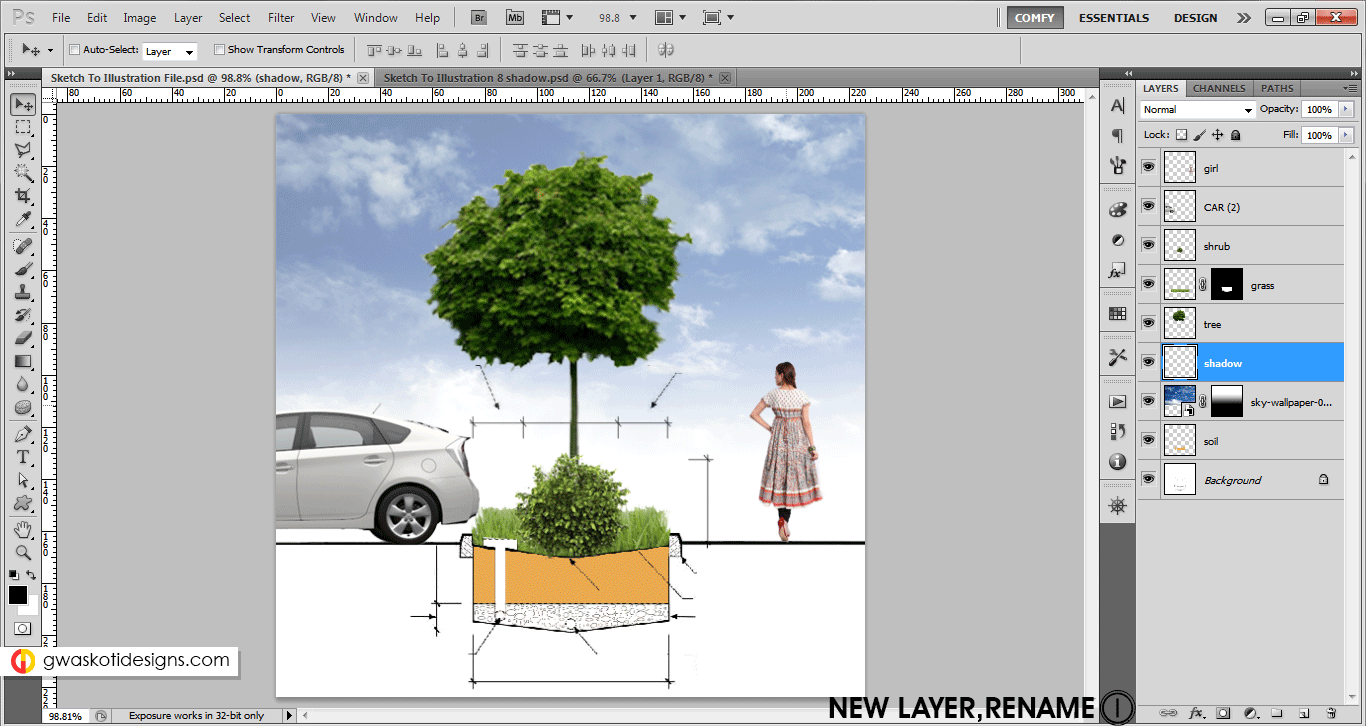
Step 9: Adding Text.
If you exported text from Cad, just drag drop it and your work is done. In case you have white background in text image,simply change the Blending Mode of layer to Multiply. Or else Text(T) whatever you want. Keep all text at top of other layers.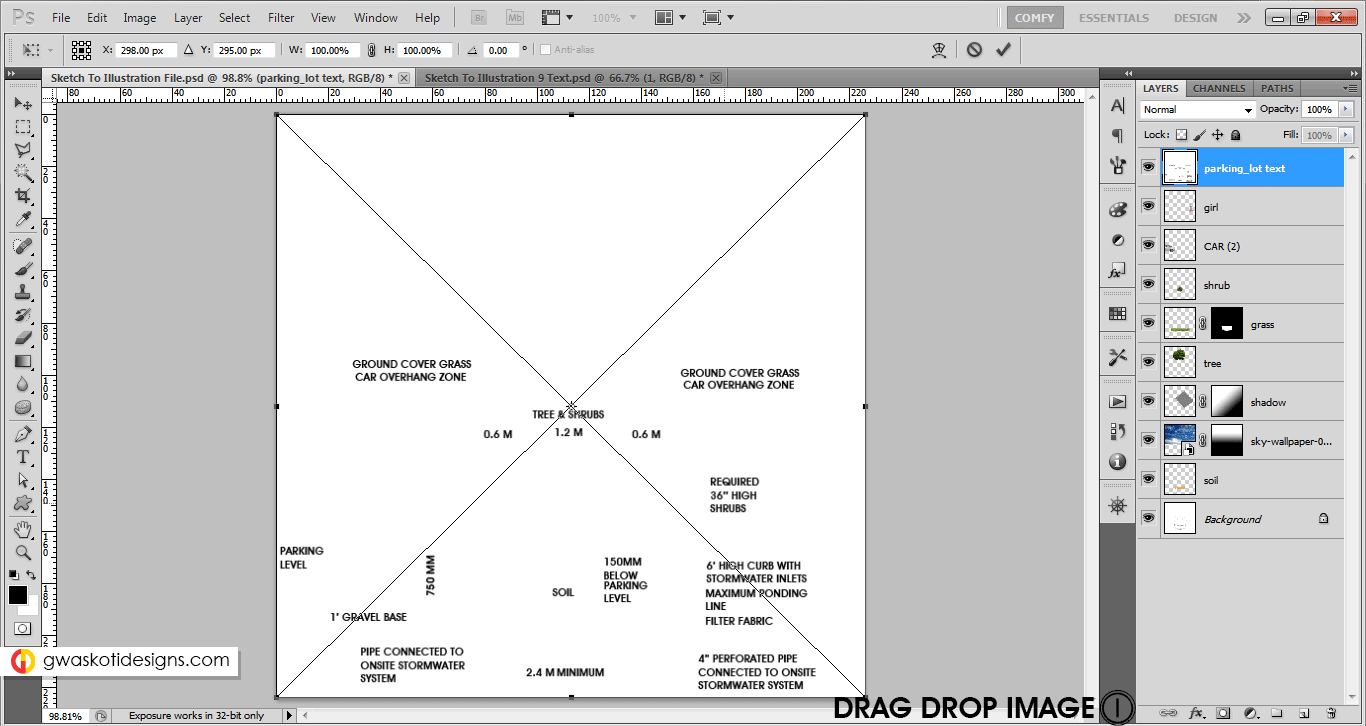
Tadaa, you have a beautiful looking illustration for your landscape sheet. These type of illustration are also helpful in conceptual sheets and leave a good impression of yours on the audience.
Solve common photoshop warning messages or errors you might face while using photoshop.
Please give your comments (compliments will work too 😉 ) and share these tutorials as much as you can, we expect nothing else in return. Thank you!
Check previous page for Step 1-3
Hola
Es muy util esta información, deberías ser más conocido en internet.
Gracias, esperamos que hayan aprendido algo nuevo .