
Parking Layout Plan Render in Photoshop
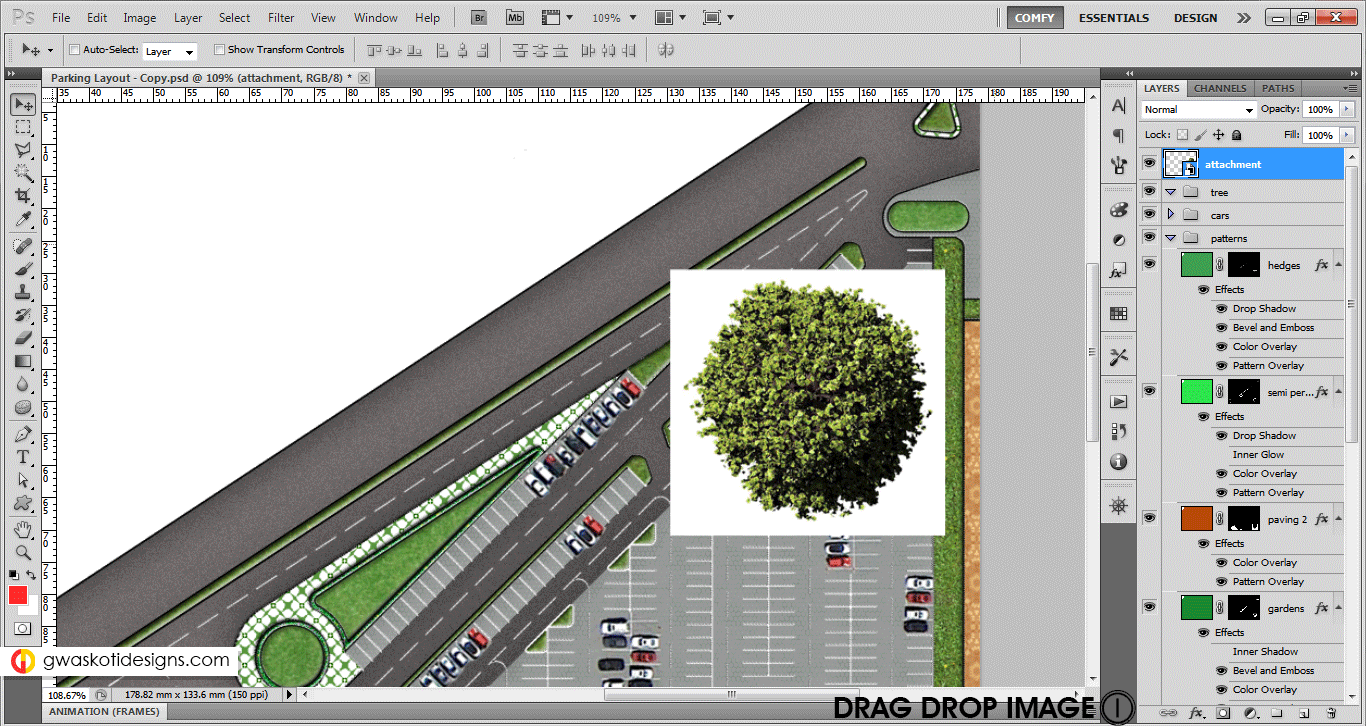
Step 14: Tree Basic Cutout
Drag drop Tree cutout, right click layer to Rasterize it (Else erase/delete wont work). For white portions, Magic wand selection with tolerance 20-30, and delete then Deselect (Crtl+D) . Now rotate tree cutout such that its shaded portion matches the overall shading of rendering till now. Then resize(Ctrl+T) according to scale (you may compare scale of tree with car sizes) and move. To give a height effect simply give Layer Style (Double click on layer icon) of Drop Shadow (match the shadow angle by checking Use Global Light).
Then Duplicate(Ctrl+J) and move in different places. Resize different trees to give variance to overall layout. However we do add different trees in coming steps. Also don’t forget to move these layers inside Tree Group.
Step 15: Tree Satellite Images Basic
These image adds up to realism in rendering plus you get a lot of options to fill large spaces quickly with good variation in textures. Look up on various mapping websites and save few images.
Drag drop any such image, select your choice of trees with lasso tool and copy to new layer (Ctrl+ J). Rotate, resize and move as required. Then with some uneven brush Erase(E) extra portions. Duplicate and place where required.

Step 16: Tree Satellite Images On Grass
Its lot easier when trees needs to be placed on green background like grass. For this example, first place the tree group image which has extra green grass in it which needs to be cleaned. First resize image(Ctrl+T). Now simply play with different blending modes, you will come across a blending mode which makes the image favourable for use. In this case Pin Light. Erase if anything required.

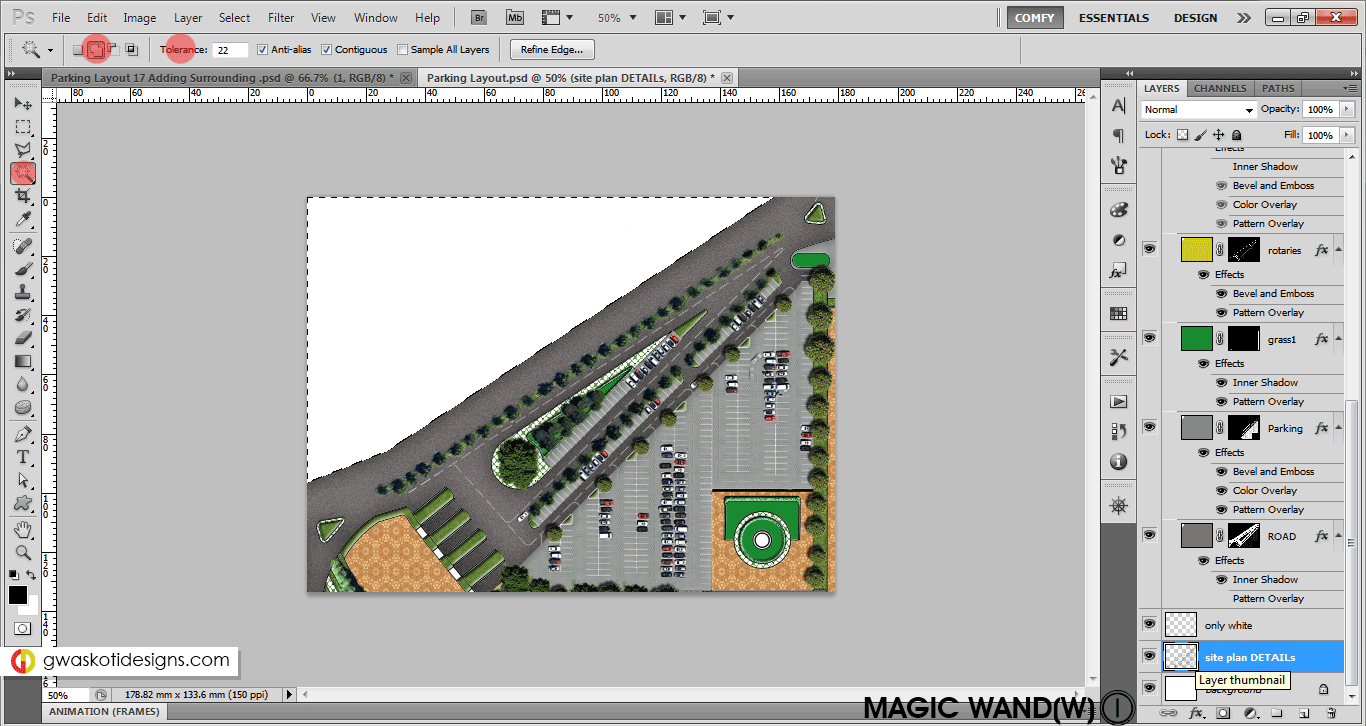
Step 17: Adding Surrounding
Like done in Page 1 Step 5, add texture of grass in surroundings with help of masking. Select surrounding with Magic Wand(W), select mask of Grass layer and fill white color (press D then Ctrl+Backspace). In another layer solid fill with ivory white color the same selection. Now paint with Black brush on mask of this layer, such that it makes a street pattern. Then apply these Layer Styles : Drop Shadow to give height effect and Stroke to make parapet & Inner Shadow for parapet’s shadow. (Save, Ctrl+S)
After the final step above, you have a stunning parking layout plan rendered in photoshop. These type of renders make you work look Pro Level and moreover they are helpful to make your work speak for itself. Good Luck!

Solve common photoshop warning messages or errors you might face while using photoshop.
Please give your comments (compliments will work too 😉 ) and share these tutorials as much as you can, we expect nothing else in return. Thank you!
Check Page 1 to learn adding Textures.
Check Page 2 to learn adding Cars.