
Simple and Sweet Elevation Sheets in Photoshop
Who doesn’t want a hard worked elevation to look good. Photoshop adds life to our drawings and moreover colors make work look good! Check this tutorial to make simple and sweet elevation sheets easily.
Setup file A1 size @ 150 pixels/inch (click here to get an idea on optimum settings for your files)
1. Place Documents.
Rasterize. Repeat. As you can see, AutoCad imports only line work without background, while other 3D softwares imports with white background. So next step involves adding background to cad layers and removing extra backgrounds from other images and cleaning Autodesk watermark (if you want to).
2. Cleaning Documents.
Make selection with marquee tool near building profile, select inverse, delete and deselect. Repeat same for next image. For cad import, merge it with a layer having white color. In this case, duplicate background. Merge down elevation layer and clean like previous images. SAVE (Ctrl + S)
3. Aligning Layer.
You can always find some reference points in your drawing. In this case, ground floor was circular so alining with one edge will make all aligned.The GUIDES comes by dragging cursor from vertical/horizontal Ruler(Ctrl+R). To hide/unhide GUIDES (Ctrl+;)
Placing sky image
Once you drag drop image, you may see extra background color (white in tutorial) in elevation layers. Remove with help of magic wand set to 0. Repeat for all. Keep base of sky about mid of elevation and upper limit as you wish. Make sure to keep sky layer below elevation layer.
For steps below, you must know MASKING, click this line to learn about it.
4. Applying mask to sky layer.
Select mask on sky layer, start painting mask with black soft round brush. The more large brush you take the more it will blend. Change size as per your desired result. Once you are satisfied, Duplicate sky layer and move it straight up, moving with Ctrl Pressed. Repeat again.
5. Adding bold line and text.
Make new layer, rename to bold line. With black hard round brush, make straight line (press Ctrl and move brush horizontally). Copy and move straight upwards (pressing Ctrl). Add text. To give some variation, transform>flip horizontal to mirror any sky layer. I chose middle one. SAVE
6. Adding Humans.
Go to any clothing shopping website :). Download models 🙂 . The full length ones with pure white background, without shadows and non white colors are preferred.
Drag drop models. Rasterize. Resize (with Ctrl pressed) such that model height is a little more than 3/4 of door height or waist matches parapet level. Rasterize and clean white background as done in previous steps. Create Duplicates of Model layer(Ctrl+D) and move.
7. Adding trees.
Drag drop image. Rasterize. If you have a free tree cutouts you might have grey dots in background. Select Magic Wand(W) and set Tolerance around 50, click 2-3 times in image and extra background will be selected and hit Delete. Resize and position. Place tree layer Under elevation layer to send it back if required. You can change opacity of tree layer if required. As seen in slide 4 opacity is 50% (press 5). Make duplicates of tree layer and position them along elevations.
Now for Back Elevation,the tree profile should appear changed. To do so Transform(Ctrl+T) and right click to select Flip Horizontal. Finally drag drop your format image to complete your elevation sheet and SAVE.
Congratulations you just completed your Elevation Sheet!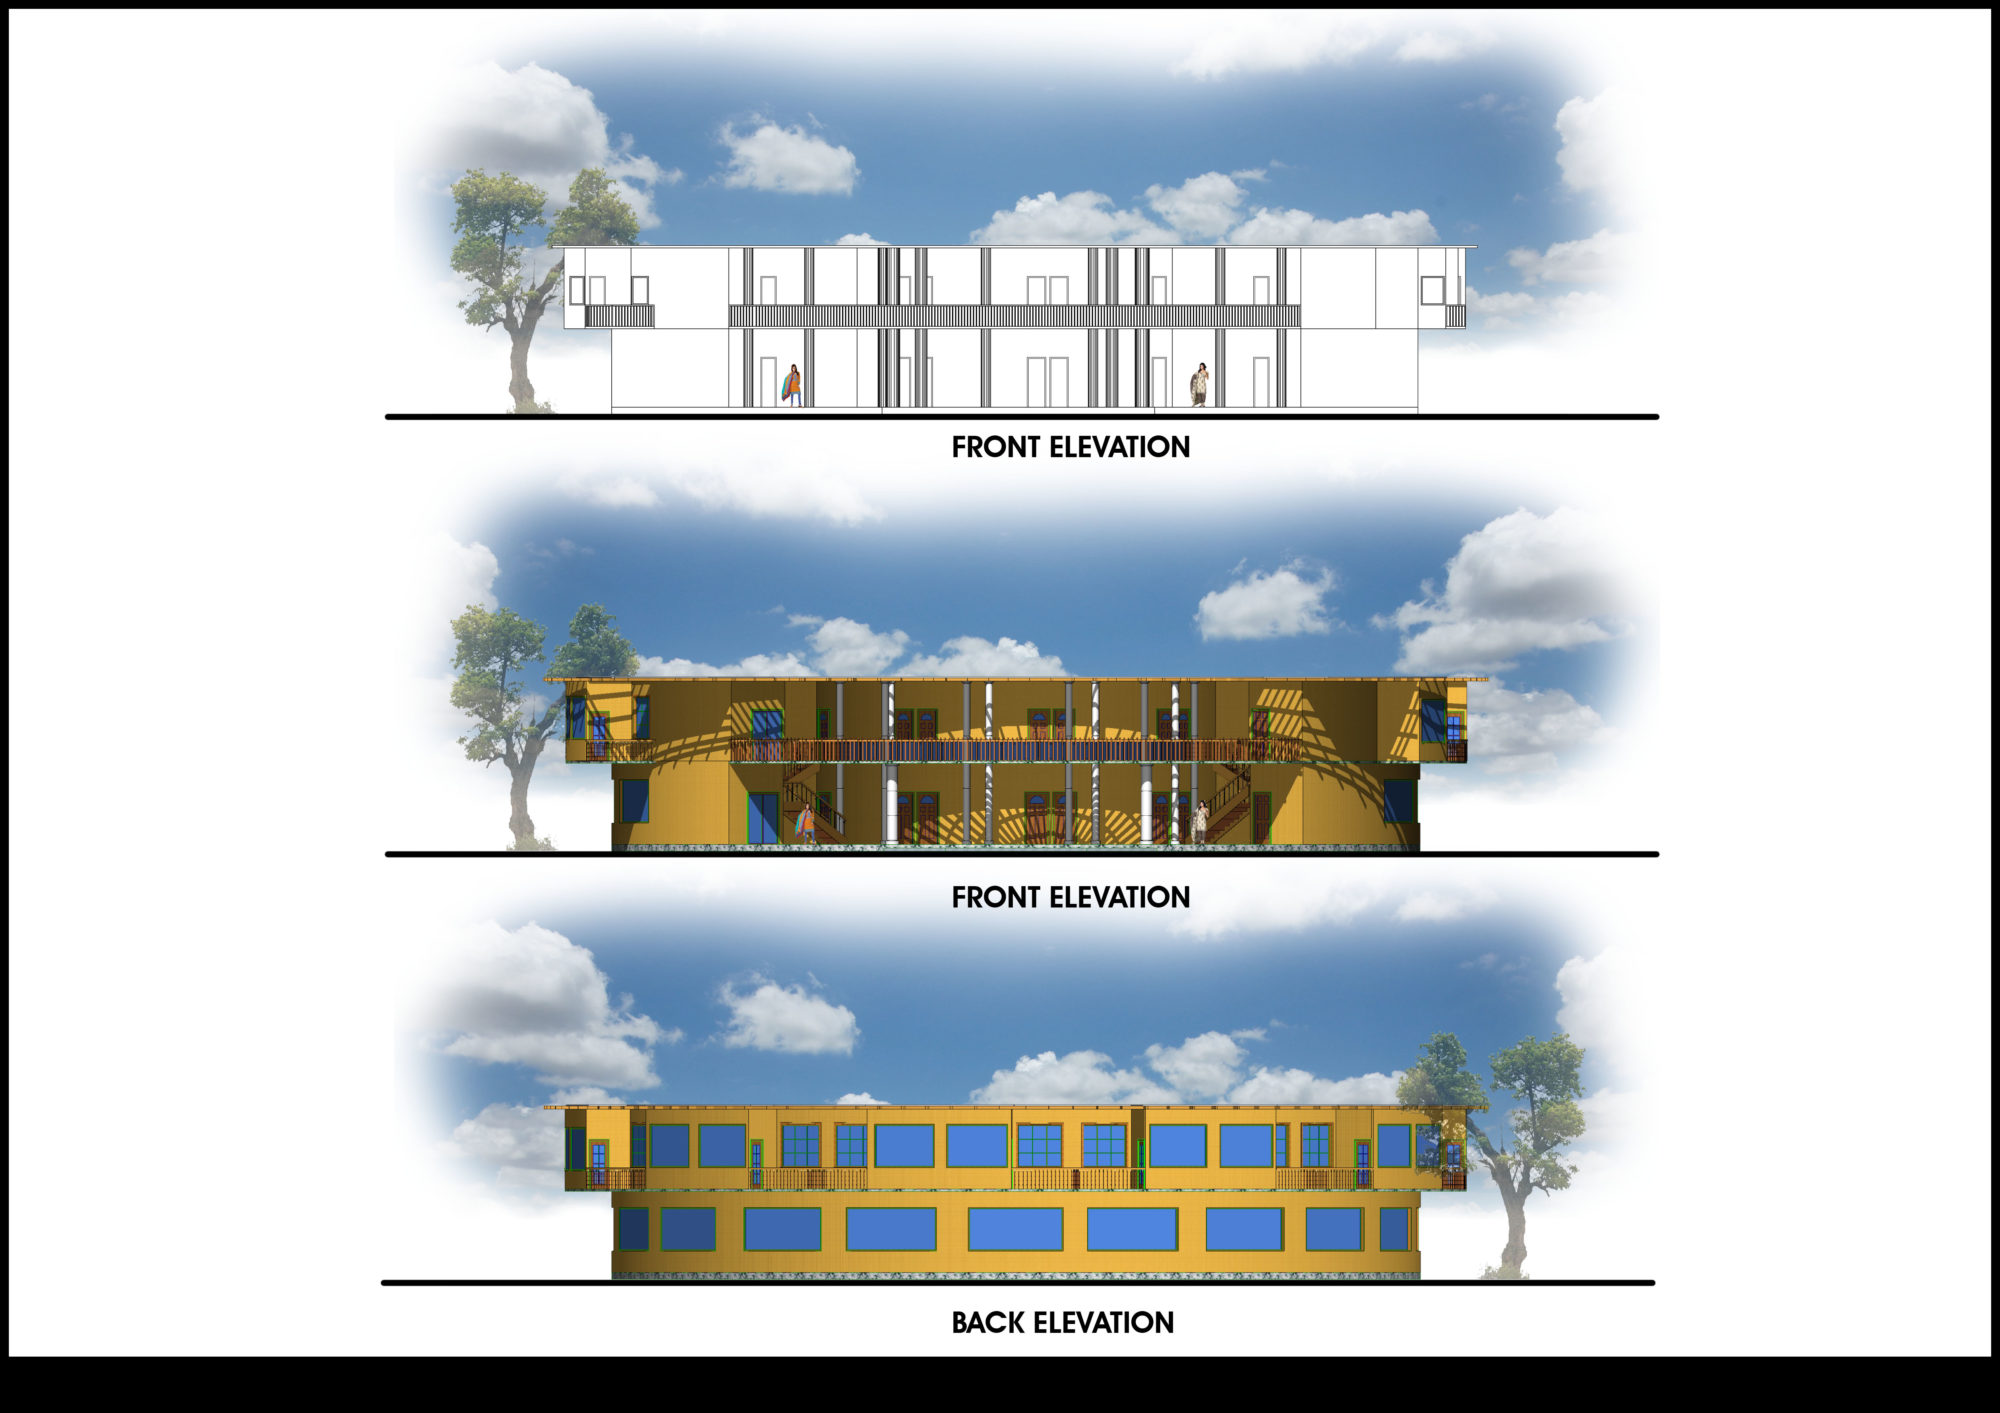
Solve common photoshop warning messages or errors you might face while using photoshop.
Please give your comments (compliments will work too 😉 ) and share these tutorials as much as you can, we expect nothing else in return. Thank you!