
The Big Basic : Setting Up Sheet
So you have a new work, which brings us to setting up a new sheet, the Right One, right type, size and resolution !
Step 1:
Go to File Menu and choose New option, or better press Ctrl+N.
Step 2: Selection
Simplifying the “New” window, you have “Preset” drop down which gives you option to select from several options.
If you are going for print works, select from US Paper, International Paper or Photos (Default units will be mm or inches).
In case you have only digital work (for internet or computer presentations) go for Web, Mobile, Film and Video options.(Default units will be pixels).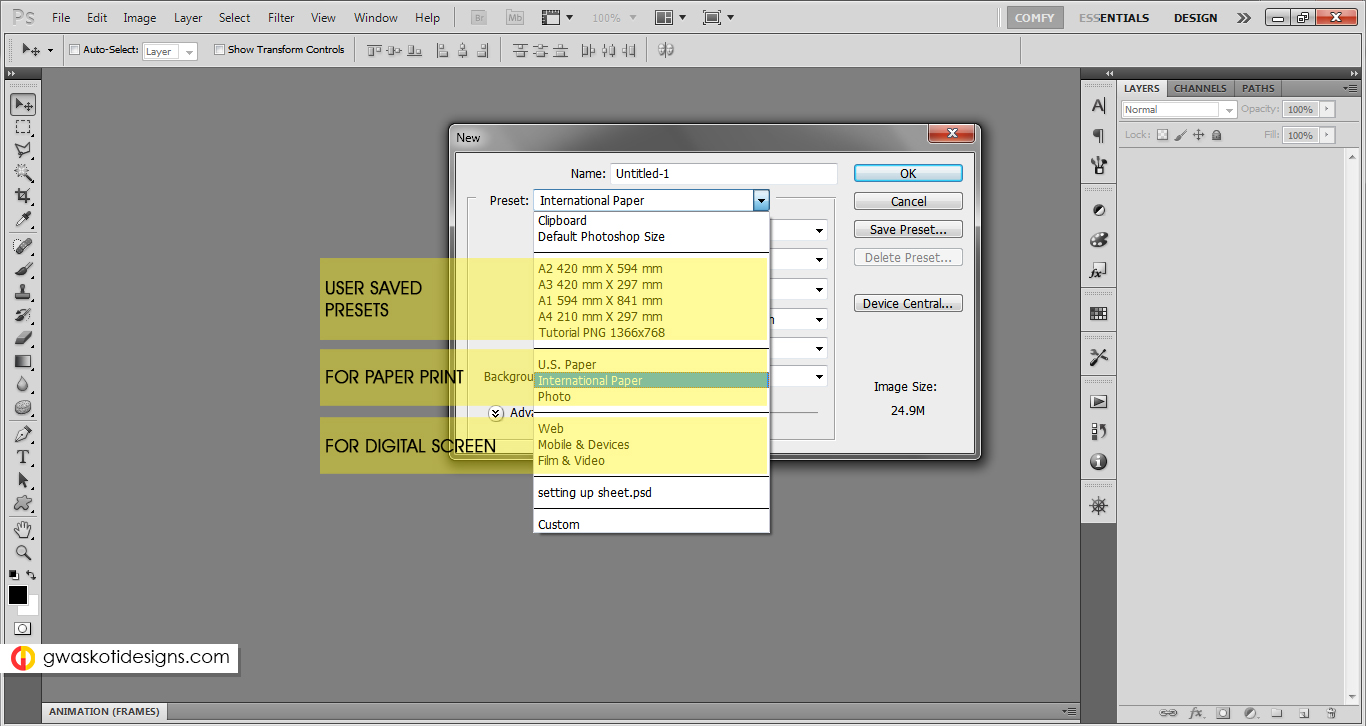
Fact: These are just presets, you can change defaults units from mm to pixels or vice versa in settings.
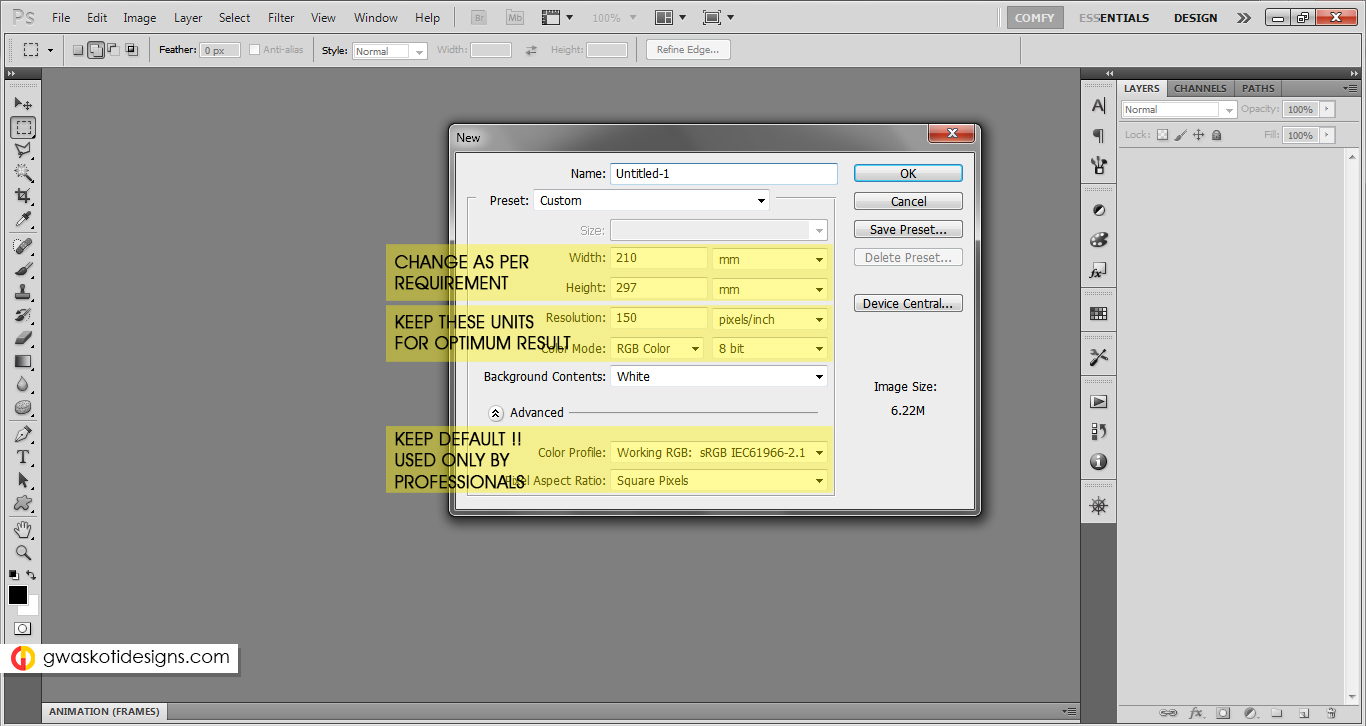
Step 3: Optimum settings.
Once you have set paper size. The next step is setting “Resolution” that is how crisp your graphics should appear, if you have really low setting like 10 ppi, your circle might appear a zig-zag octagon. This is something you should take care of. Huge pixels/inch will never be an issue for small paper sizes like A4 and A3, but if you have a paper size of A0 and A1 and you set Resolution above 300, you will end up file sizes more than a GB, which be a pain if you don’t have powerful systems. (This pain will be incredibly high when you are having submission days and your laptop is working continuously from two-three days, that too with other softwares working simultaneously)
From my experience, 150 ppi will do good to you for any print work for college purpose.
And you are done.

Please give your comments (compliments will work too 😉 ) and share these tutorials as much as you can, we expect nothing else in return. Thank you!